There was always something extra. At the end of the meal, when dessert plates had been licked clean and the mugs of tea were no longer steaming, a little bag would invariably find its way to the table. The crinkle and crackle of the plastic alone attracted enough attention to draw everyone to the kitchen, and when the little transparent bag actually appeared, you could see eyes glittering and faces light up. "Oooooh" and "aaaaah", they would exclaim, "quel délice!" Expressions of delight were always uttered in French - soft and soothing, like a song.
My brothers did not partake in the cooing of my aunts - they did not "oooooh" or "aaaaah" in that high-pitched voice - but their eyes were just as wanting and their hands just as eager. They too, would grasp for the little bag and claim their orangette before they'd all disappeared in the mouths of aunts, uncles, nieces and cousins. Only I wasn't a threat. I didn't gasp or grasp. I sat disappointed in a corner, unclear on how a piece of orange peel wrapped in dark chocolate could evoke such rapture.
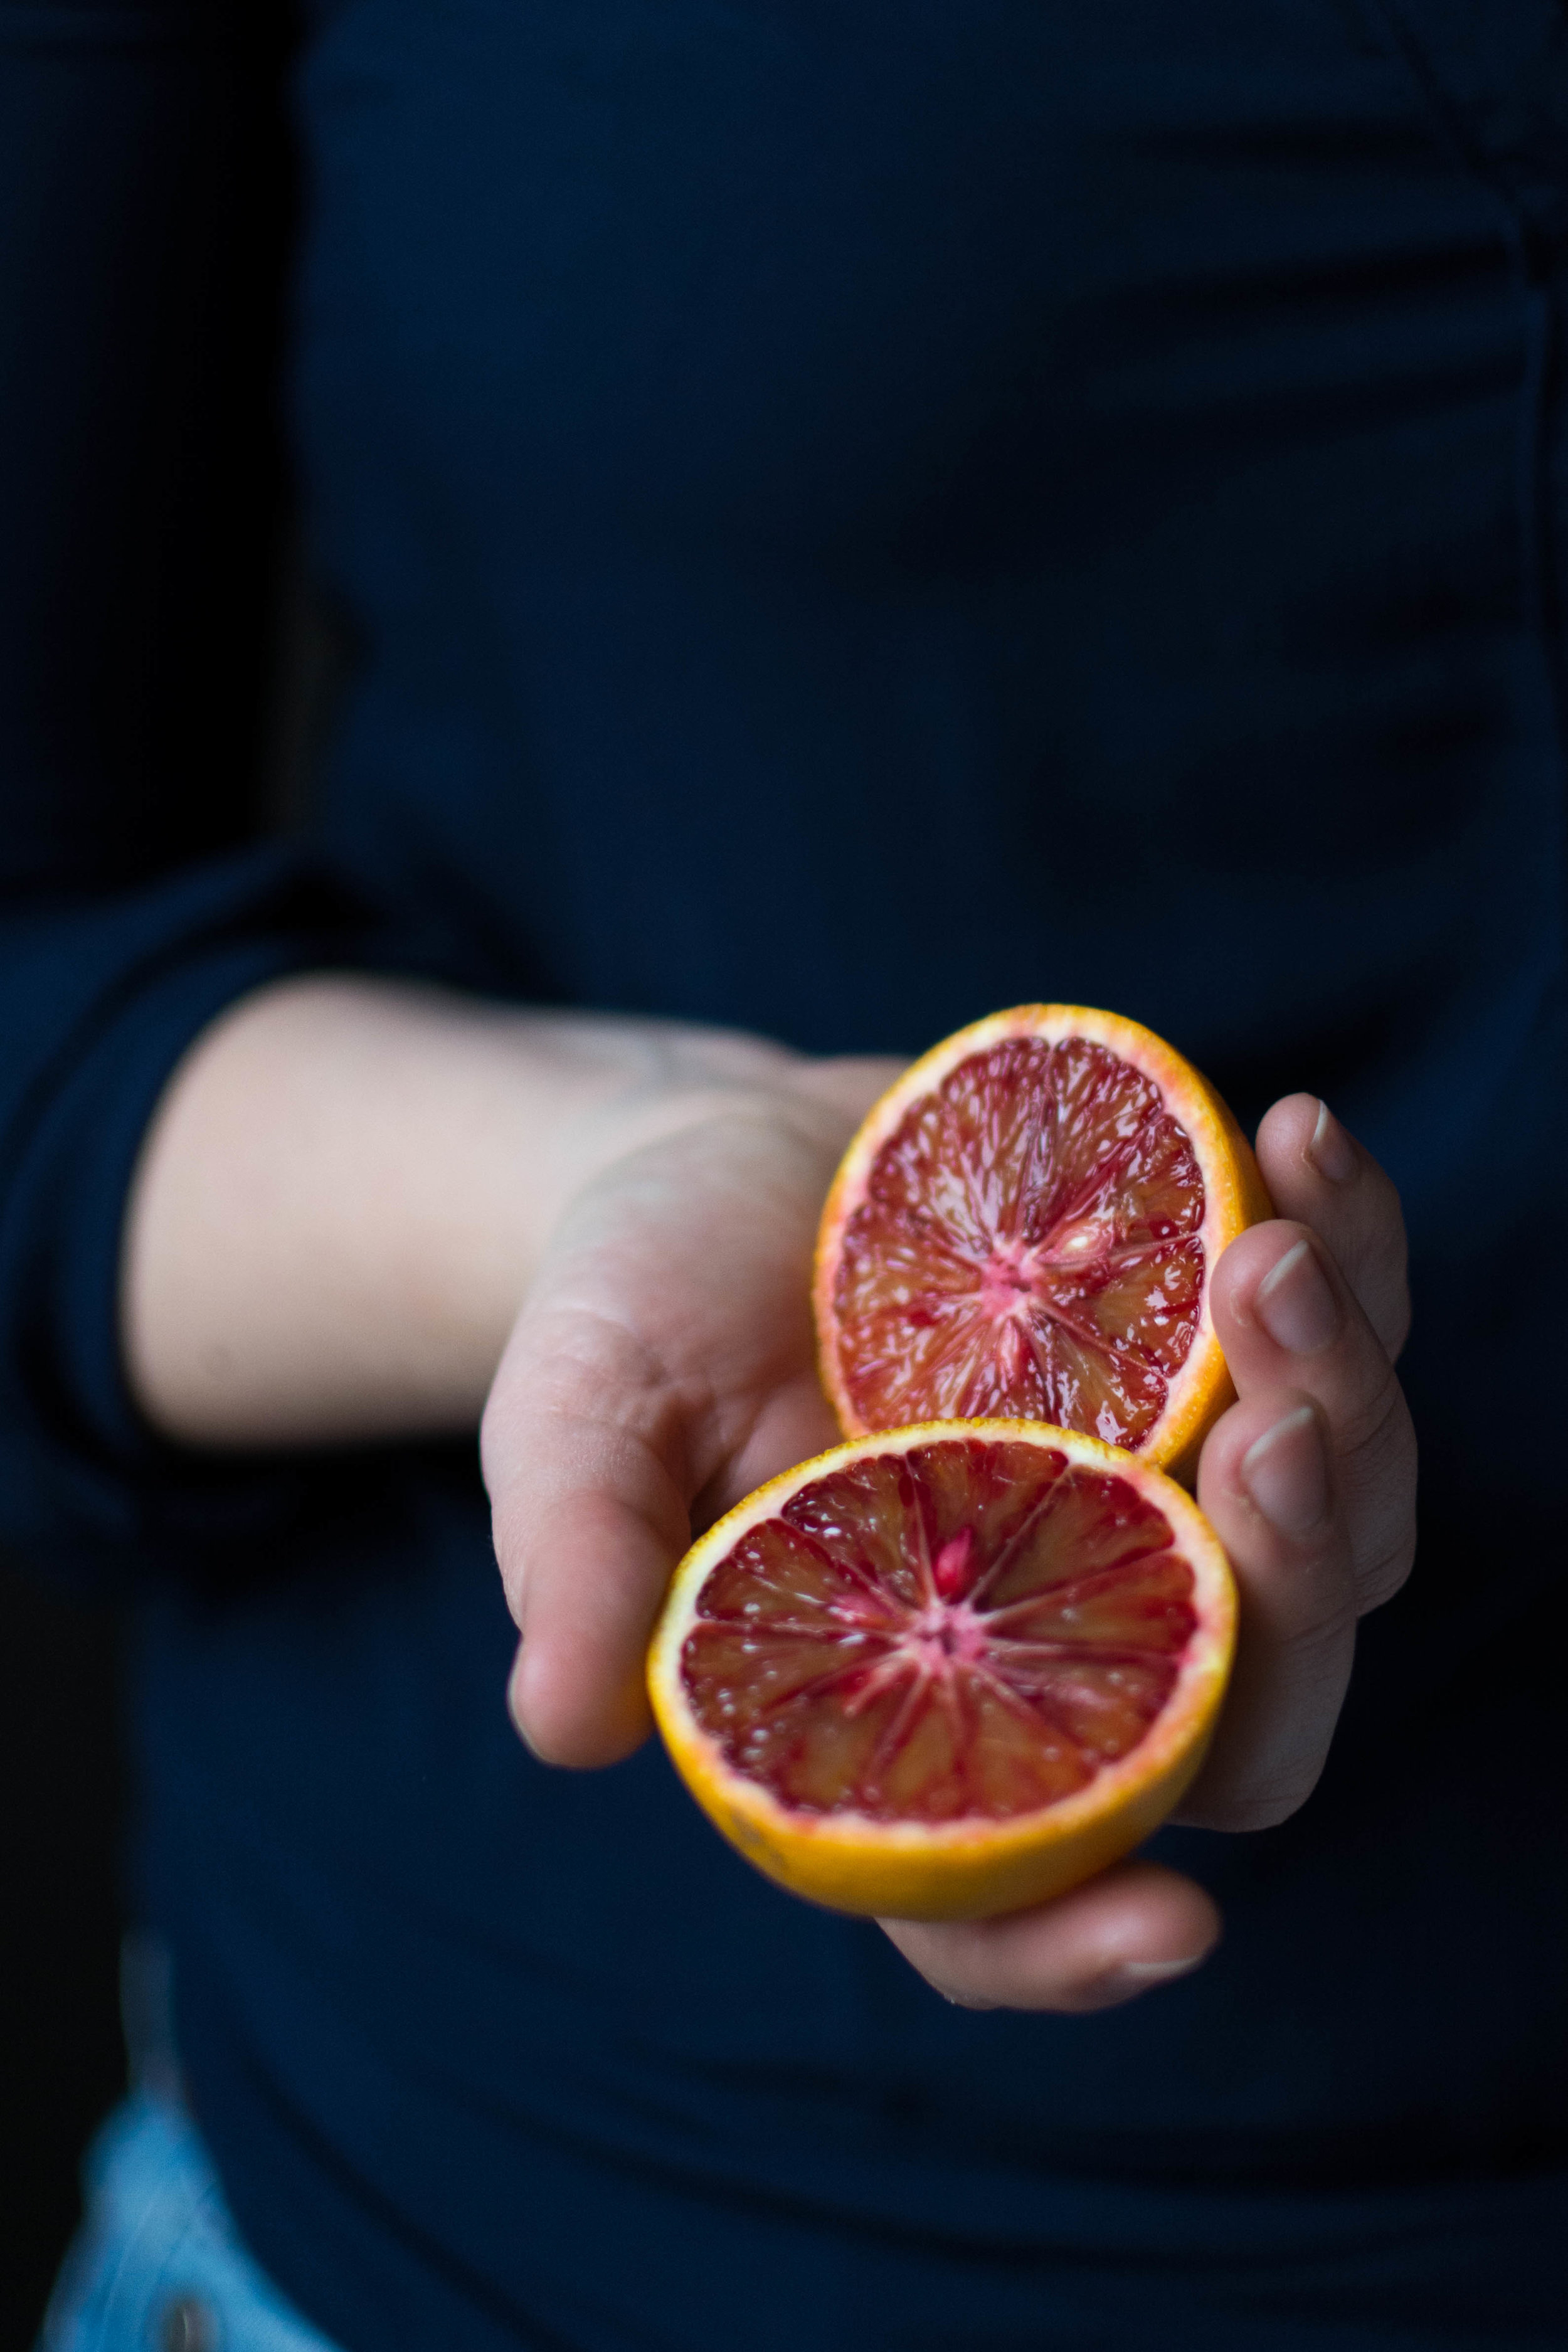
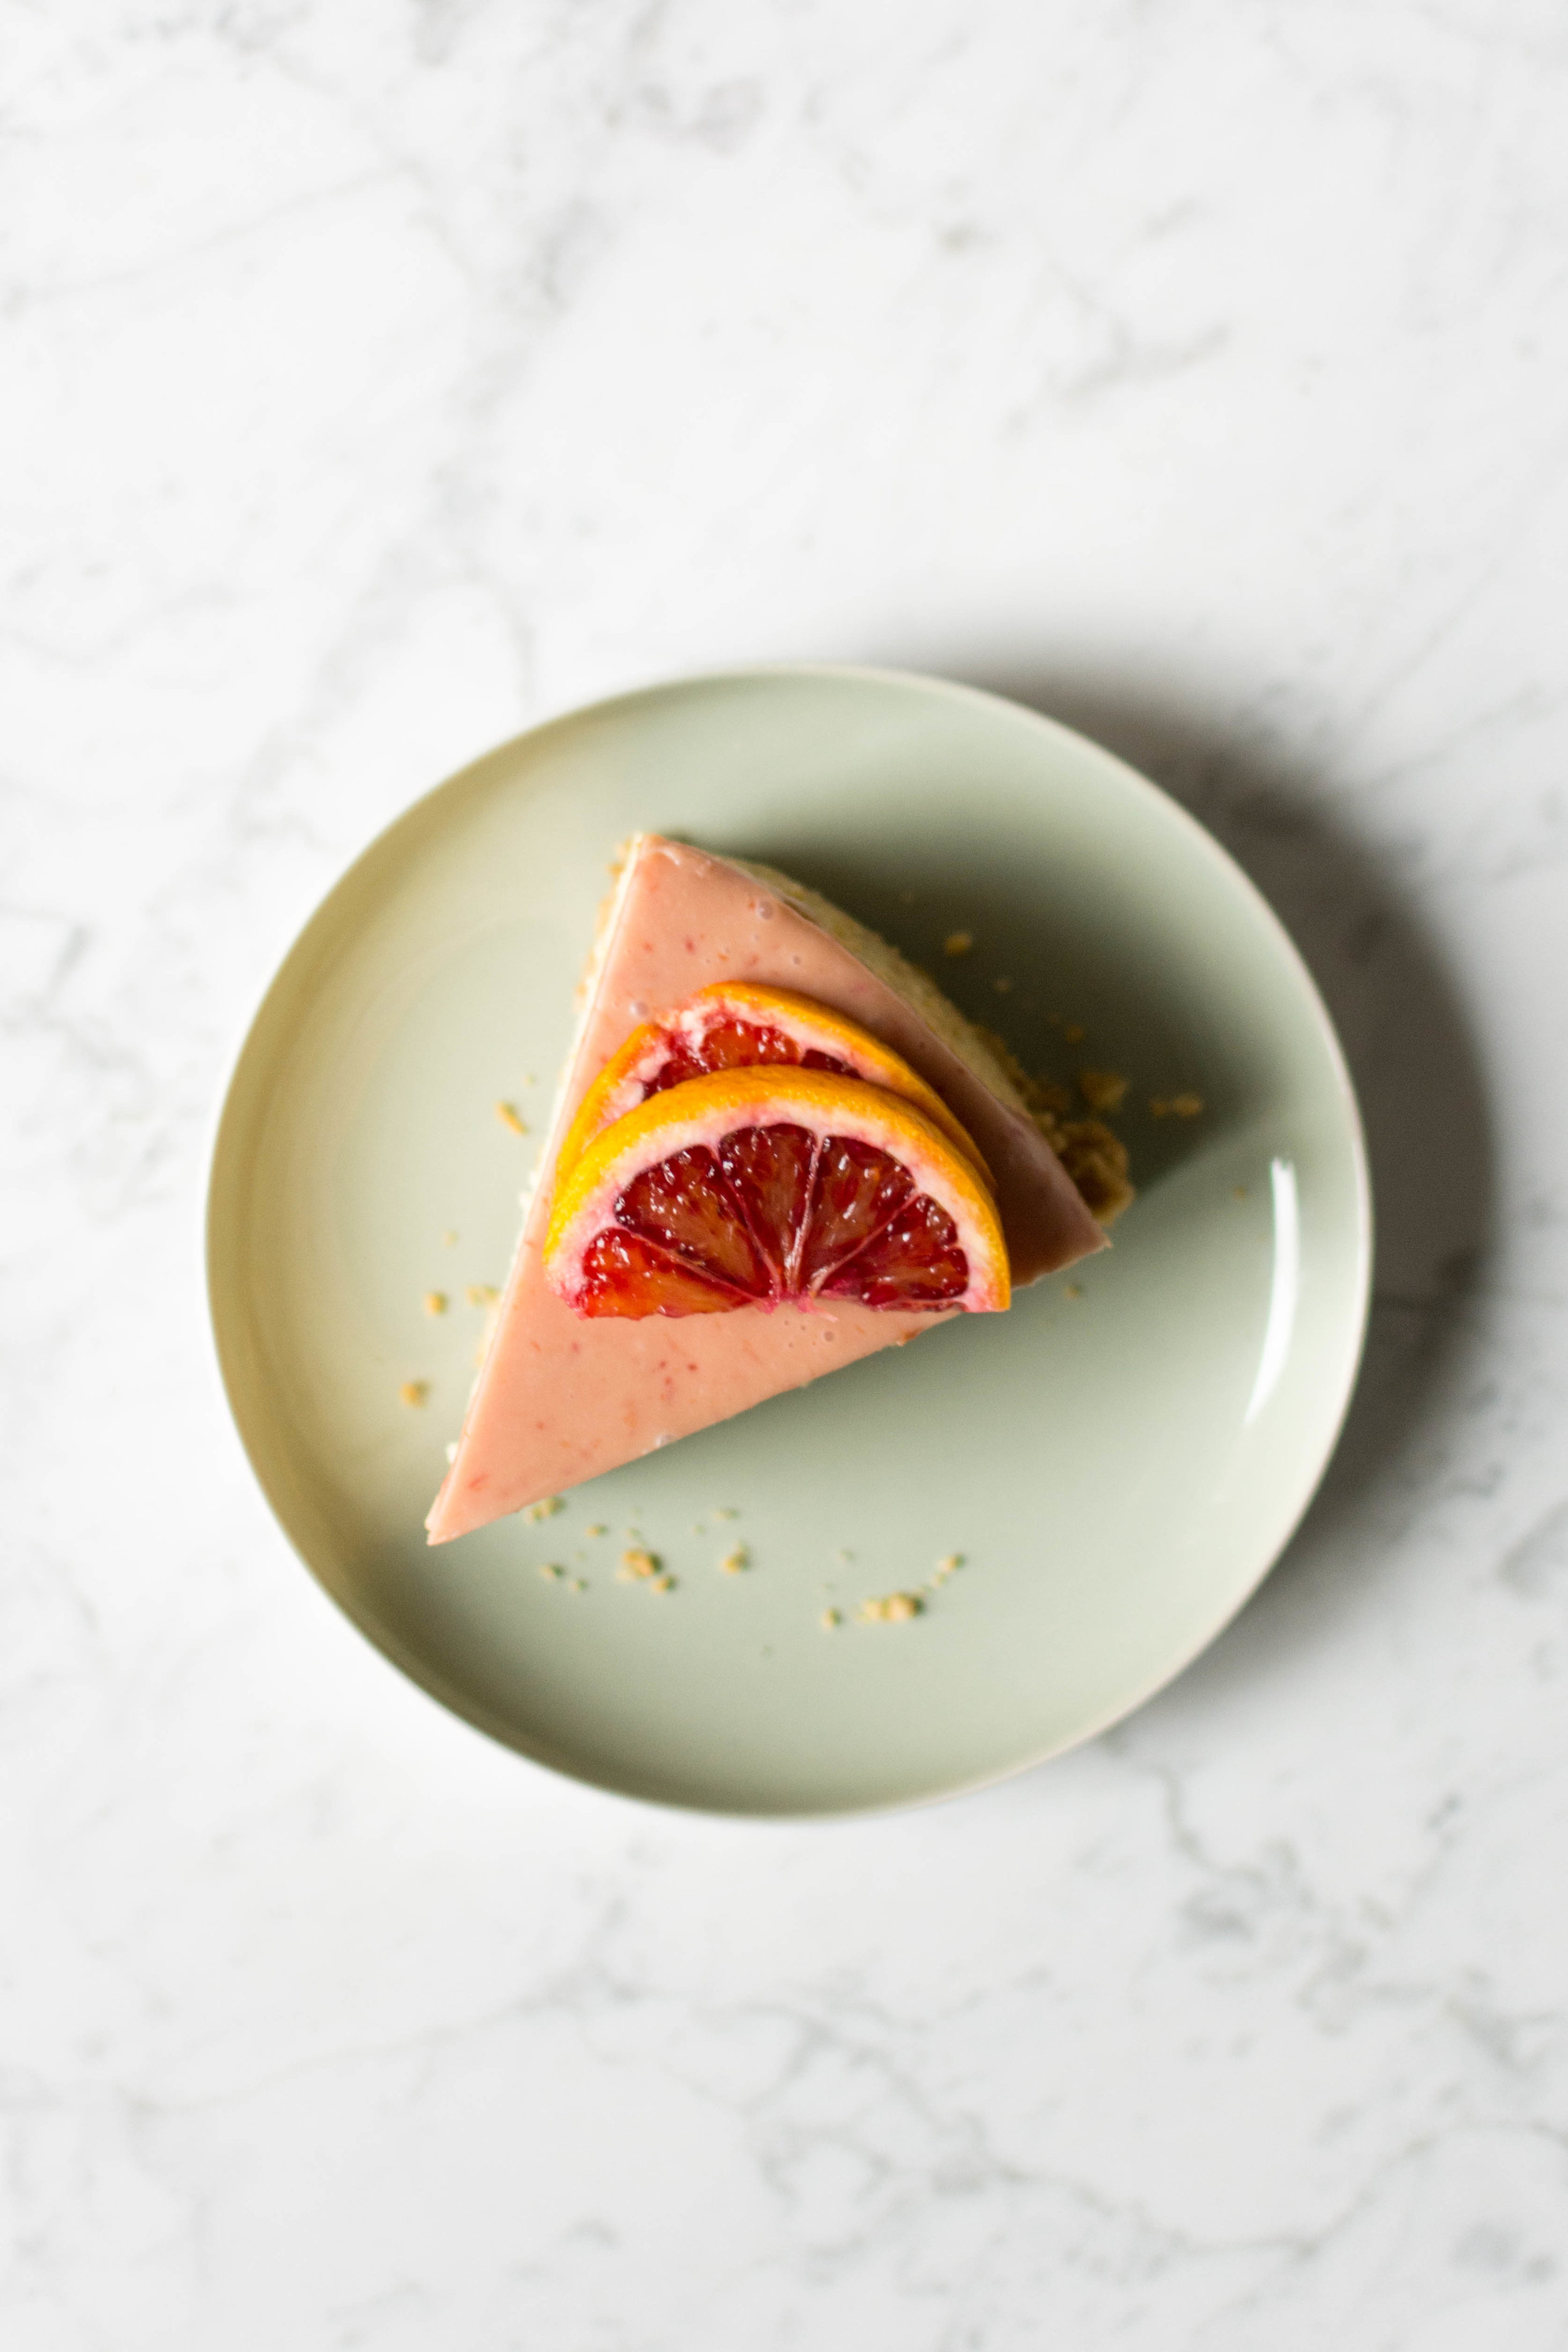
I'll be honest with you, I have yet to figure it out. The combination of chocolate and citrus has simply never appealed to me. I have always considered their flavors to be competing - one too strong for the other, clashing and confusing. And yet, here I am today, totally captivated by the mix of blood oranges and white chocolate. As if the beautiful blood oranges weren't treasure enough, I have found how the soft, sweet taste of white chocolate mellows their strong tart citrus tones, while at the same time enriching them, making them melt into your mouth slowly, but fully. I have found that citrus and chocolate need not always compete, and I have found that their combination might even please - no, delight - me. I may not coo for an orangette, but I will happily do so for this blood orange cheesecake and its delectable blood orange white chocolate ganache. "Quel délice!"
notes
• This recipe is adapted from Sarah Kieffer's Vanilla Bean Blog, while the baking tips and instructions are gathered from different sources (including Sarah Kieffer and Tara O'Brady) as well as my own experience. Follow the instructions carefully and allow the cheesecake to cool as slowly as possible to avoid a cracked top. If you still happen to end up with a few cracks, don't worry. The blood orange white chocolate ganache will easily hide them from sight!
• I like to use the simplest, crumbly biscuit for the crust so as not to compete with the flavors of the cheesecake and ganache, but feel free to experiment. Using raw cane sugar will give the crust a nice extra crunch, but regular granulated sugar (or any other kind) would work just as well.
• Since there's no actual cream in the ganache, keep in mind that it will not set quite as much as a regular chocolate ganache. That means it will remain relatively soft even after a few hours of refrigeration, although it will not be runny.
blood orange & white chocolate cheesecake
adapted from The Vanilla Bean Blog
makes a 20 cm (8 inch) cake
for the crust
150 g shortbread biscuits (or digestive biscuits, or another plain cookie)
35 g raw cane sugar
60 g unsalted butter, melted
for the blood orange cheesecake
450 g cream cheese, room temperature
105 g granulated sugar
zest of 2 small blood oranges
1/4 tsp salt
70 g sour cream, room temperature
75 ml fresh blood orange juice
3 large eggs, room temperature
for the blood orange white chocolate ganache
125 g white chocolate, chopped
150 ml fresh blood orange juice
how to
for the crust
1. Preheat oven to 160°C. Grease a 20 cm (8 inch) springform pan and line the bottom with a piece of parchment paper.
2. In a food processor, grind biscuits into a fine crumble. Mix in the raw cane sugar, then pour in melted butter and combine. Press the cookie crumbles into the bottom of the springform pan and use the back of a spoon or the bottom of a glass to even out the surface.
3. Bake for 10 minutes. Let cool on a wire rack.
for the blood orange cheesecake
1. Preheat oven 160°C. Place a rack in the center of the oven, and one more on the bottom. Wrap the springform pan with the cooled crust in two layers of aluminum foil (shiny side out) and set aside.
2. In the bowl of a stand mixer fitted with the paddle attachment, mix cream cheese on medium speed until completely smooth, 4-5 minutes. Scrape the sides and bottom of the bowl a few times to make sure everything is smooth.
3. Meanwhile, use your fingers to rub the blood orange zest into the sugar, until orange and fragrant. Add sugar to the cream cheese and beat for an extra few minutes until evenly incorporated and smooth.
4. Turn the mixer to a medium-low speed and add salt, sour cream and blood orange juice. Mix until fully incorporated and smooth.
5. With the mixer running on medium-low, add eggs one at a time, waiting until one is incorporated before adding the next. Don't overbeat!
6. Pour cheesecake batter over the cooled crust and tap the cheesecake on the counter a few times to remove any air bubbles. Place a baking tray with warm water on the lower rack of the oven and position the cheesecake on the center rack.
7. Bake for 45-60 minutes, until the edges are puffed, set and slightly brown, but the center is still quite jiggly. Turn the oven off and put the oven door on a crack. Leave the cheesecake to cool in the warm, humid oven for about 30 minutes, then set it on a wire rack. Remove the aluminum foil, run a thin knife along the edges to loosen the cake and allow to cool to room temperature. Move to the refrigerator and let cool for another 3 or 4 hours (6 hours or overnight if you're not adding the ganache).
for the blood orange white chocolate ganache
1. Place chopped chocolate in a small, heat-resistant bowl. In a small saucepan over medium-low heat, cook blood orange juice until reduced to about 1/3 (50 ml). Pour reduced juice over chocolate and let sit for a minute, then use a spatula to stir until smooth. Start by stirring in tight circles in the center and moved out once you see chocolate and juice combine.
2. Remove cheesecake from the refrigerator and pour ganache over the top. Let cool in the refrigerator for an additional 3 to 4 hours, preferably overnight.
3. When ready to serve the cake, run a thin, clean knife along the edges to loosen the cheesecake, then remove outer rim of the springform pan. To slice the cake, run your knife under some hot water first and dry before cutting. Rinse and dry your knife between each cut.


